
The Game Asset Pipeline (GAP) course teaches students to create hyper-realistic game objects through a structured process. By integrating techniques from past courses, such as low-poly 3D and photorealistic high-poly 3D, students develop skills in building detailed low-poly models. This process involves thorough planning and follows a clear pipeline from concept to presentation.
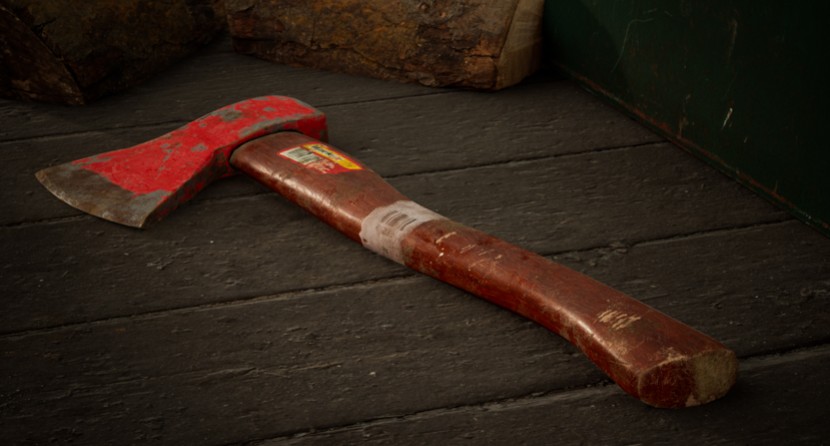
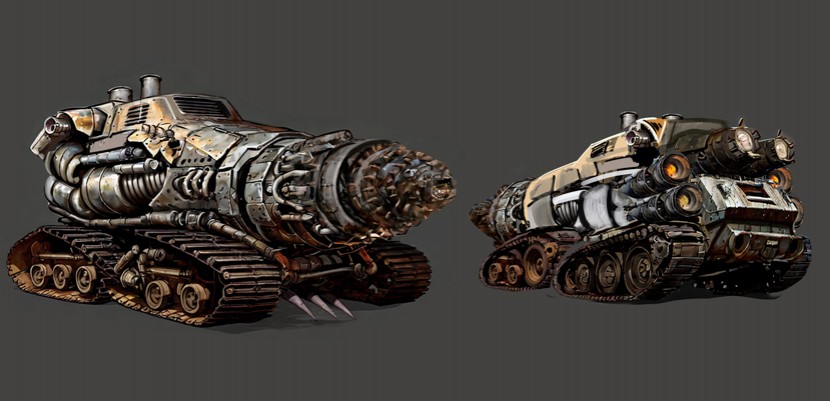
Rustborn


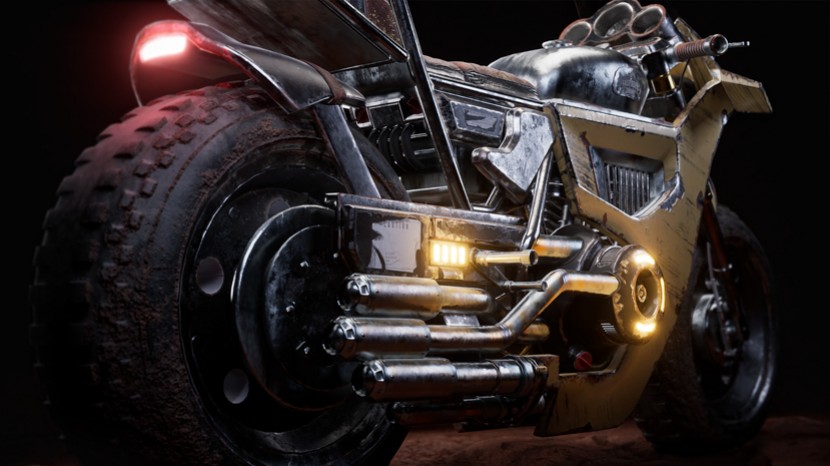
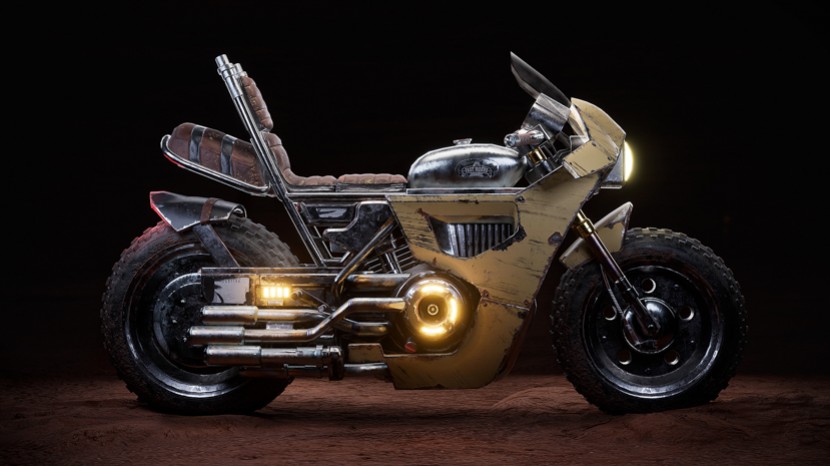
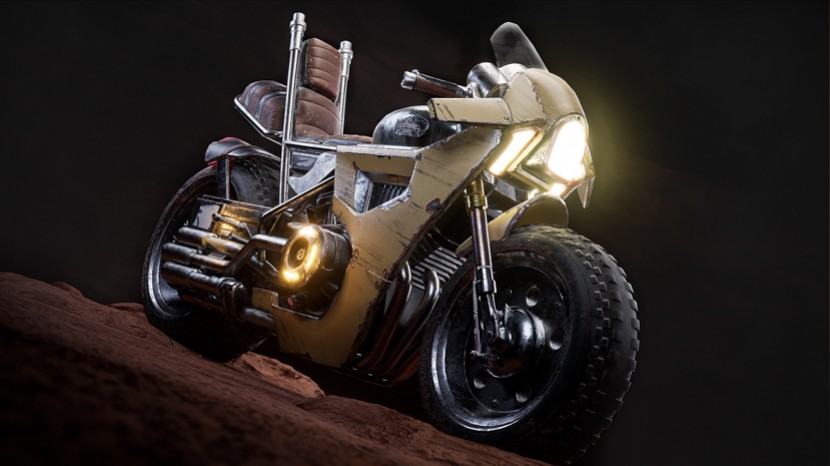
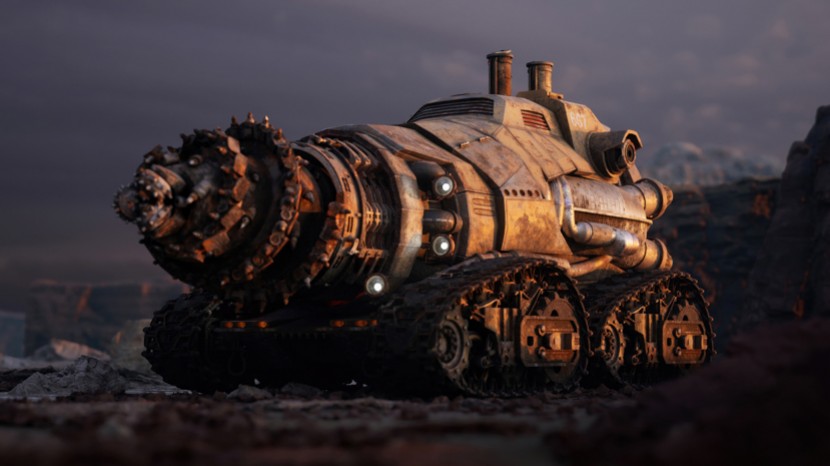
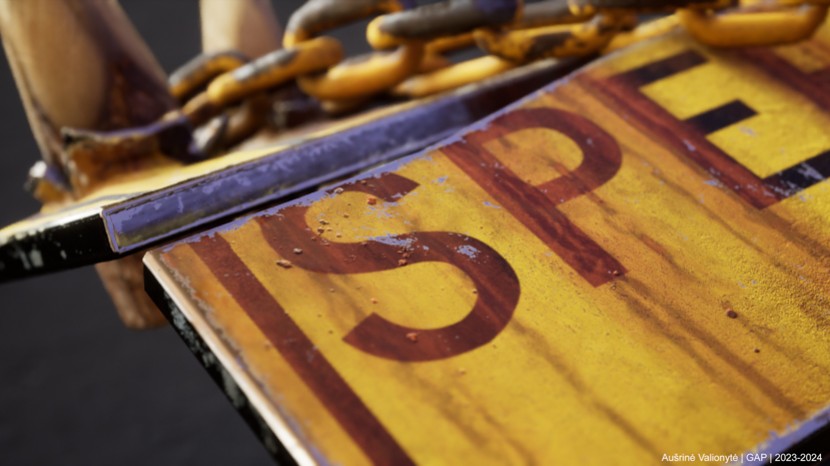
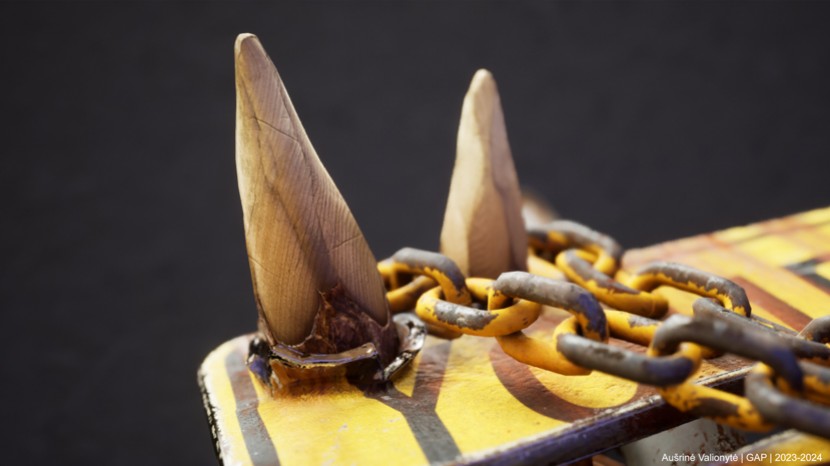
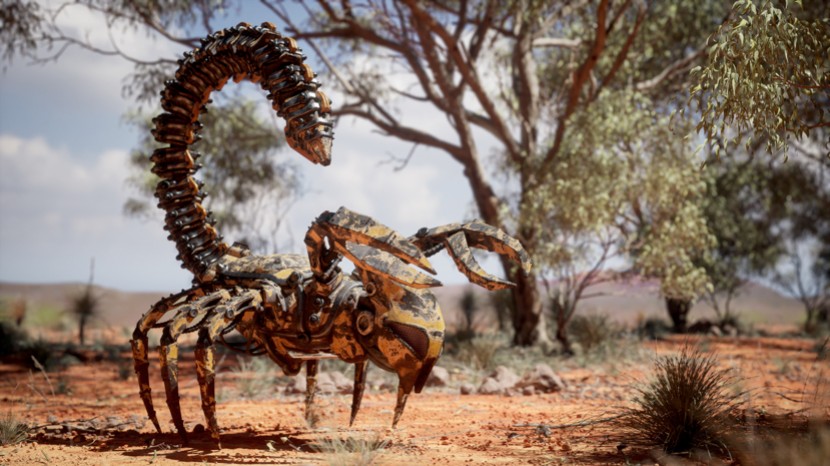
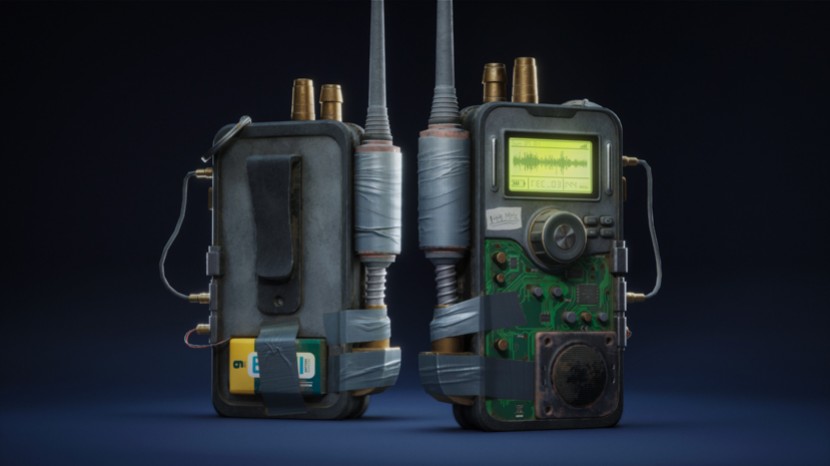
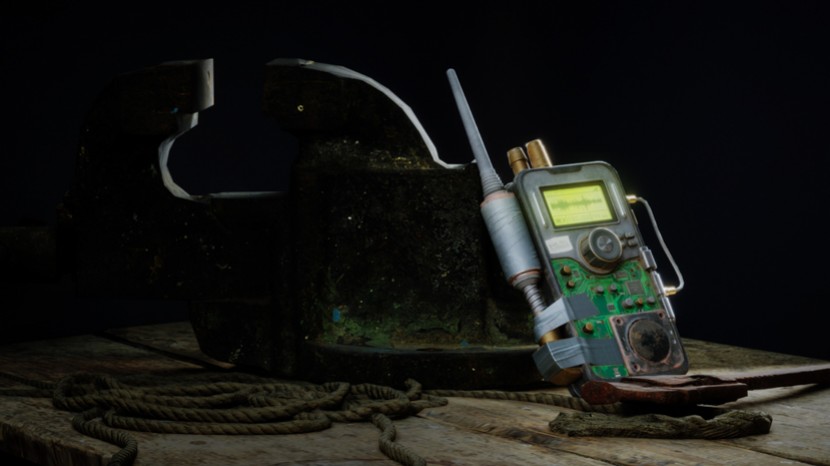

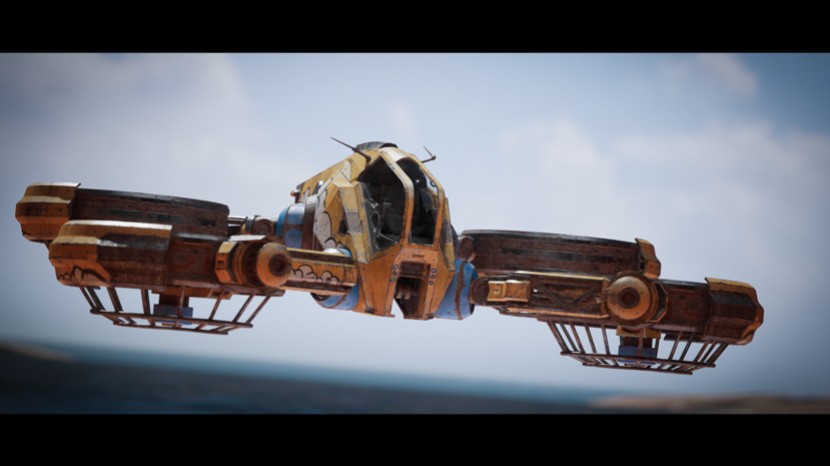
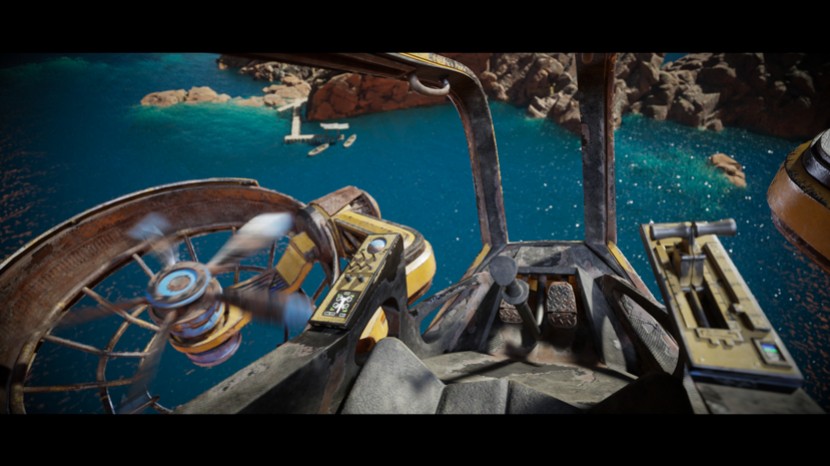
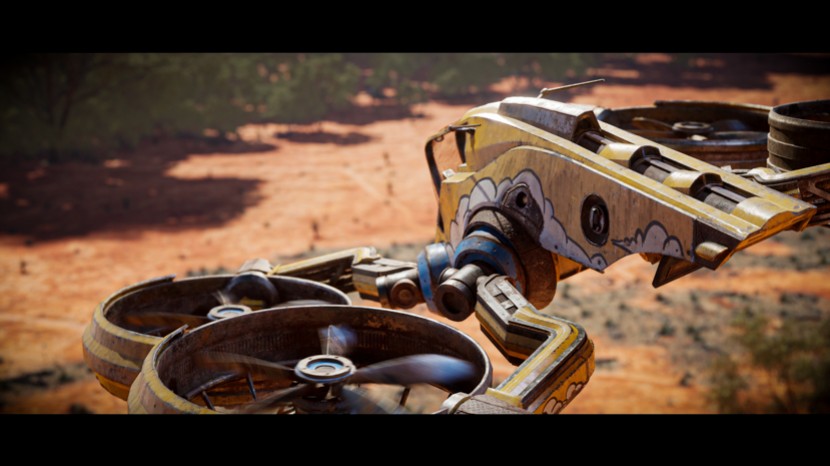
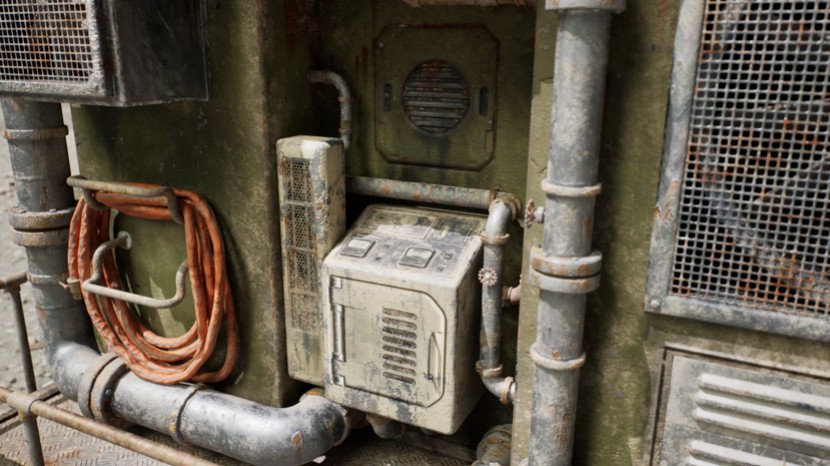
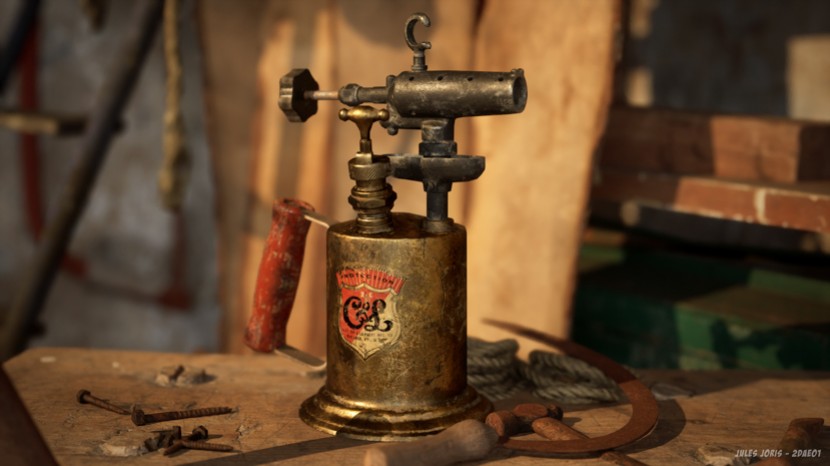
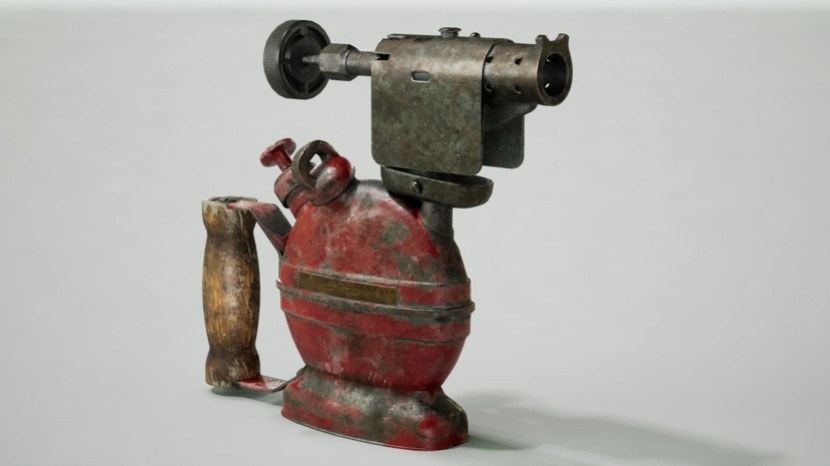
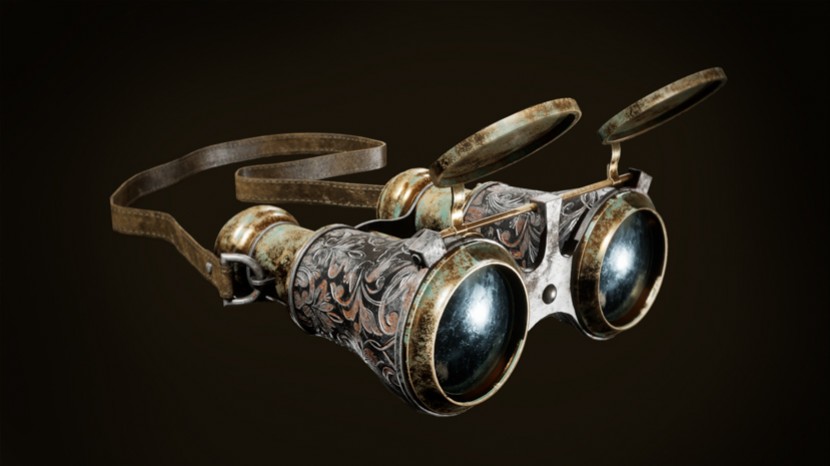
Student work by Megan Veldt, Arno De Regge, Jules Joris, Lars Maes, Ausrine Valionyte, Roksolana Krouchtch, Bart Van Hoye, Joshua Plettinckx, Senne Bovee, Bram Verheyen, Ward Vervoort, Gabriele Stefanelli, Lander Van Den Branden
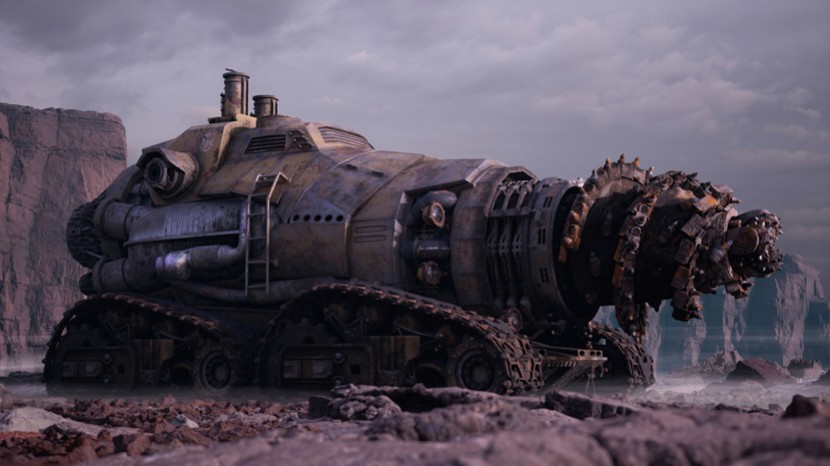
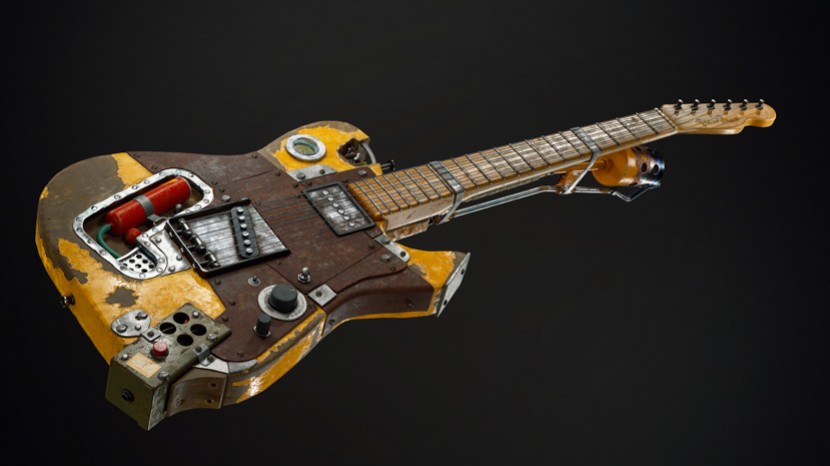
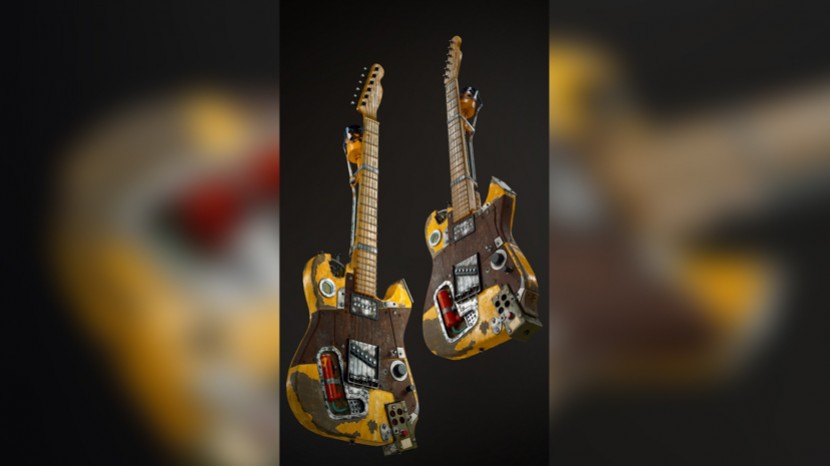
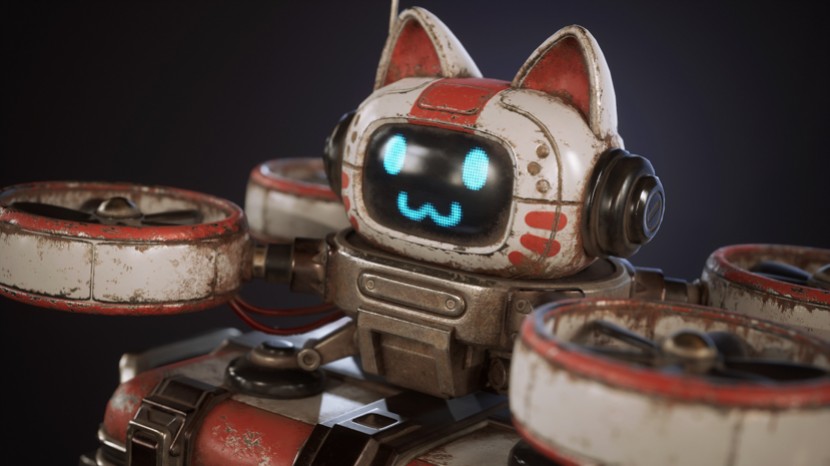
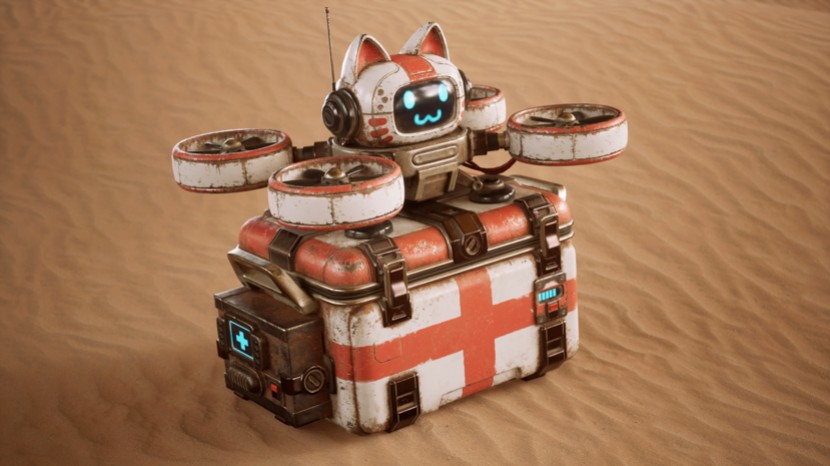
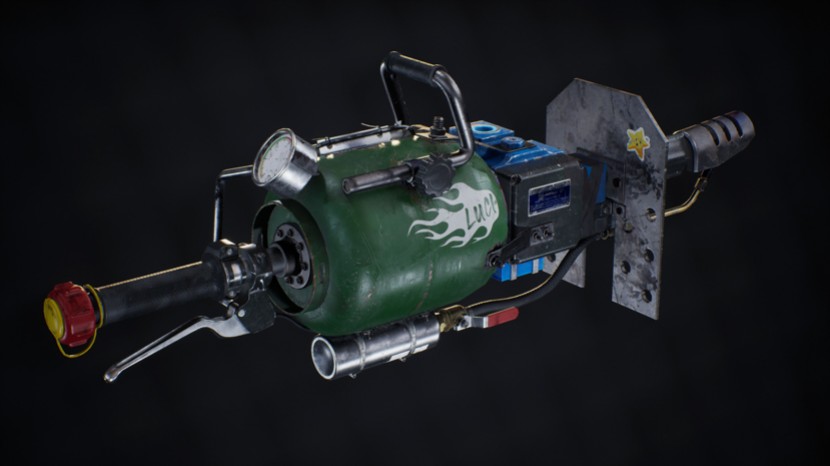
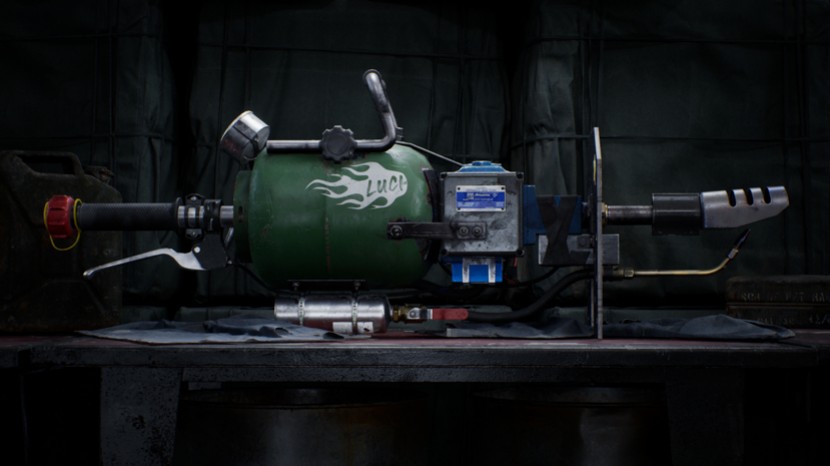
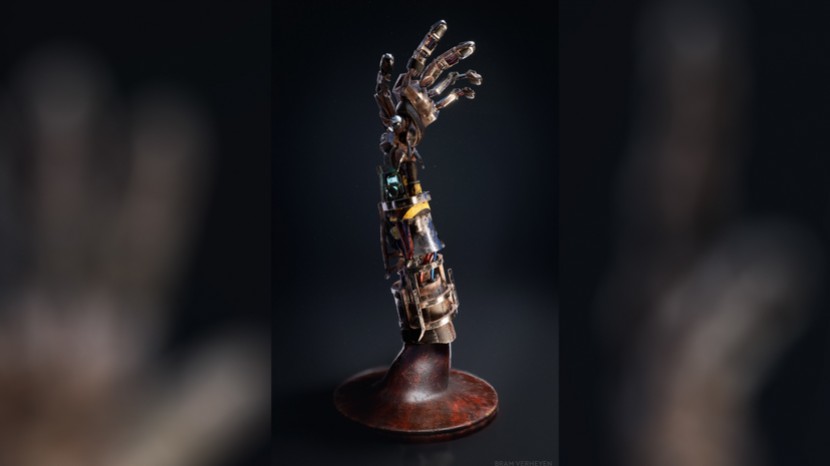
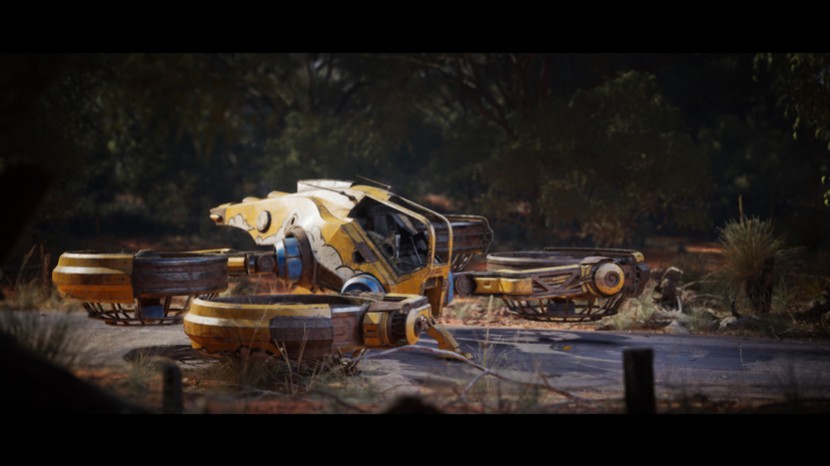
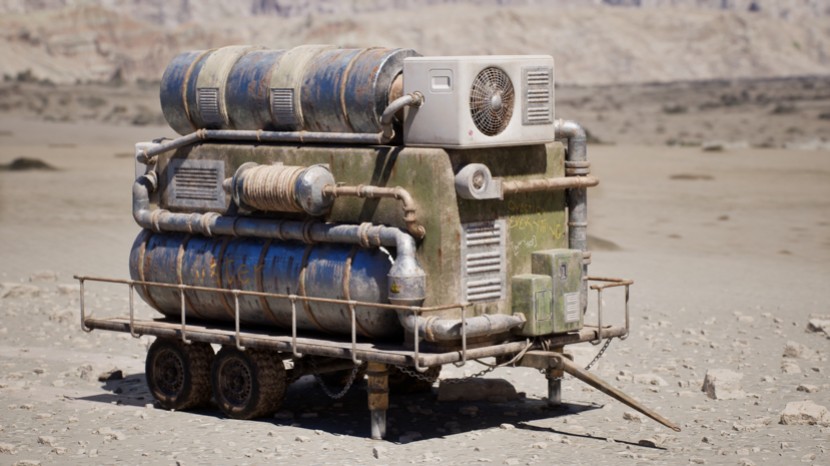
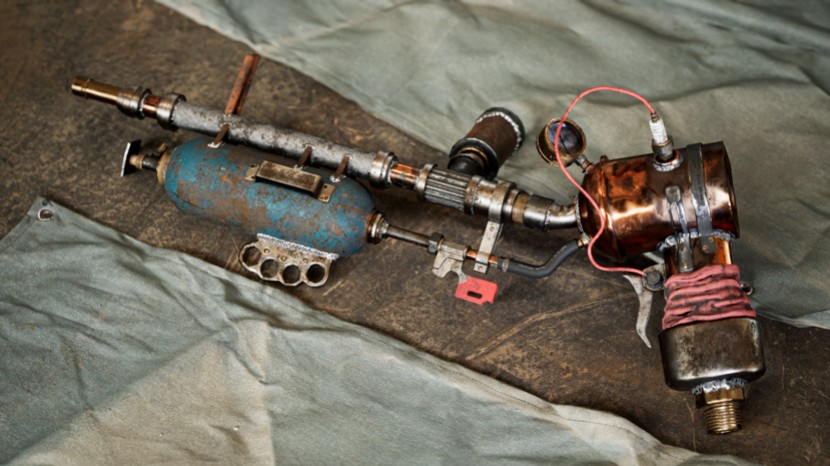
Tools
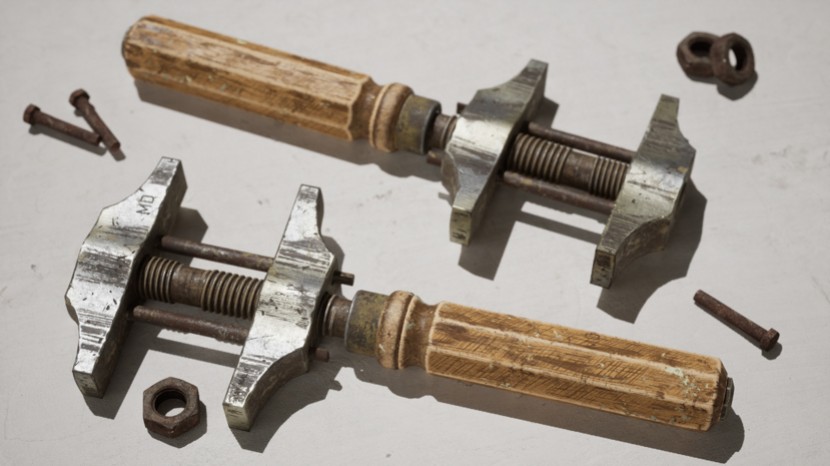
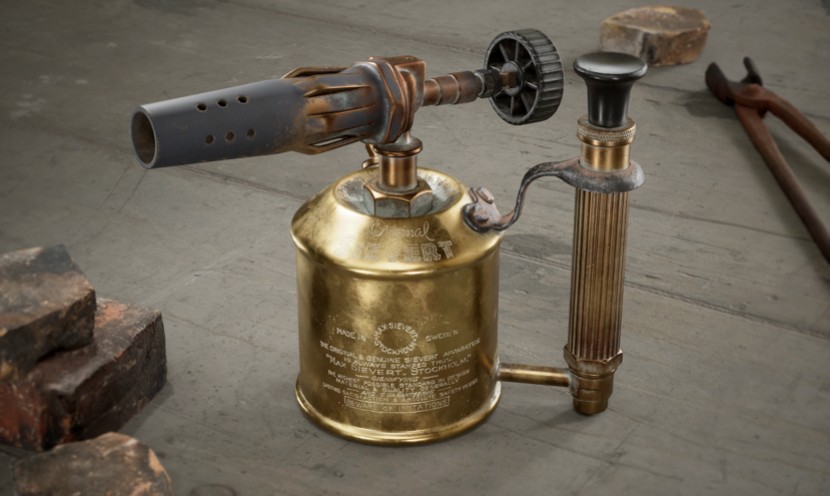
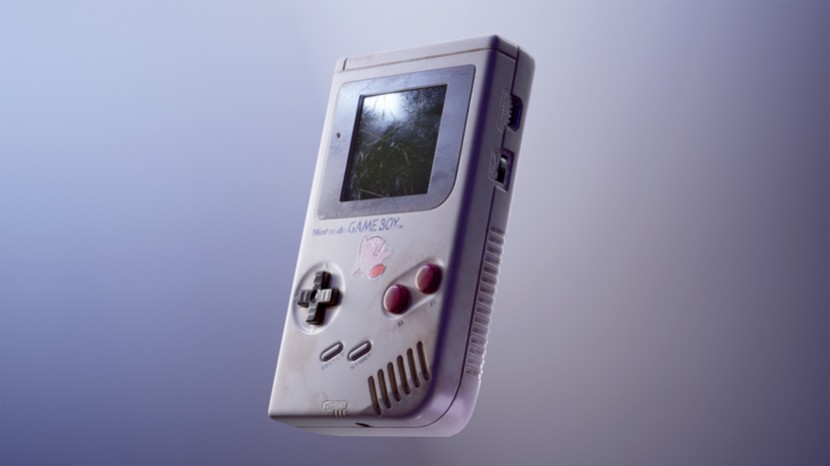

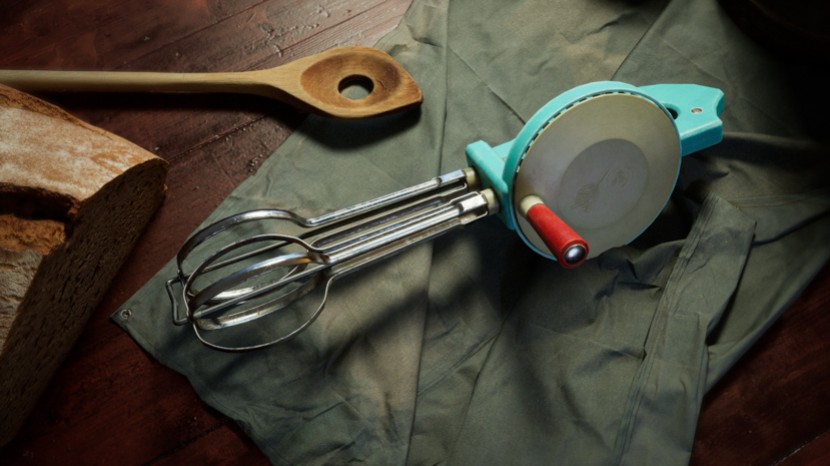
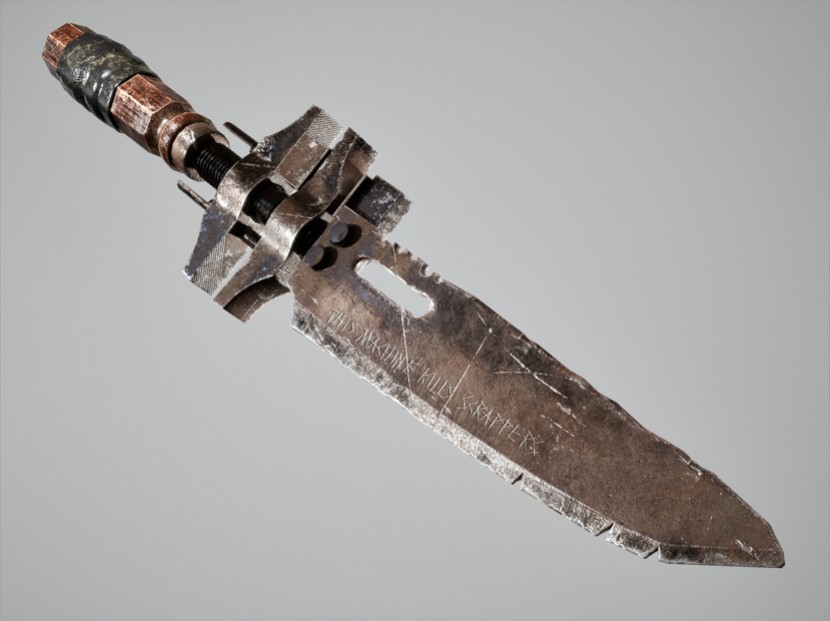
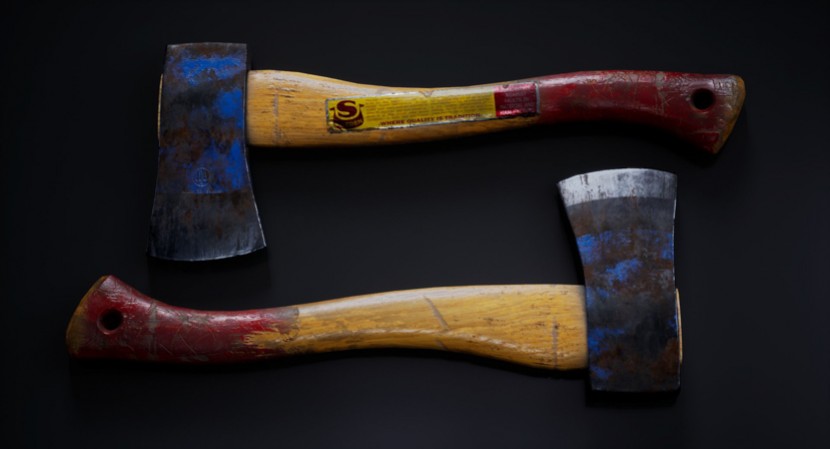


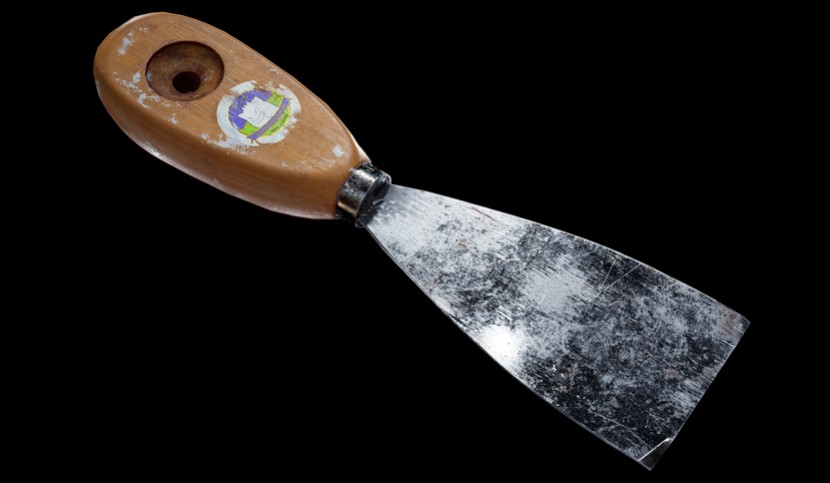
Student work by Michelle Bogdanova, Jules Joris, Artjoms Horosilovs, Jay Malik, Roksolana Krouchtch, Heather Delaere, Bram Verheyen, Ward Vervoort, Katrina Engelharta, Kris Catteau, Jelle Moes, Joshua Plettinckx, Mark Prokopyev, Senne Bovee, Gabriele Stefanelli, Orjoanne Tepe, Valeria Balaneva , Alex Verbruggen.
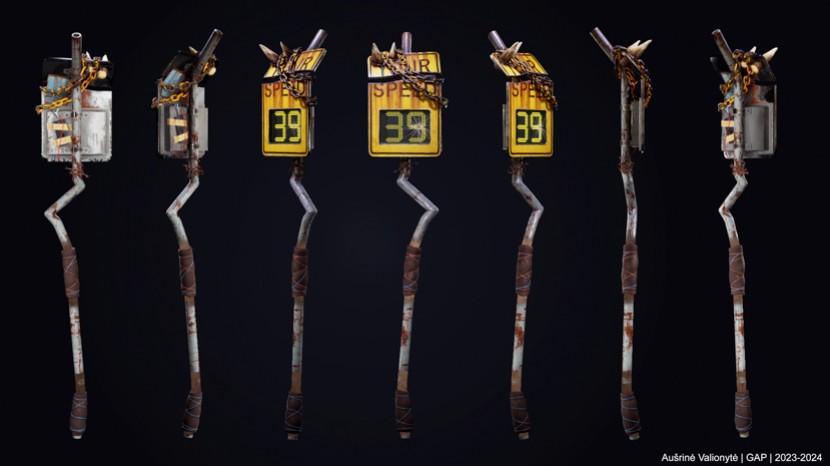
Workflow (by Jules Joris)
Concept and Preproduction
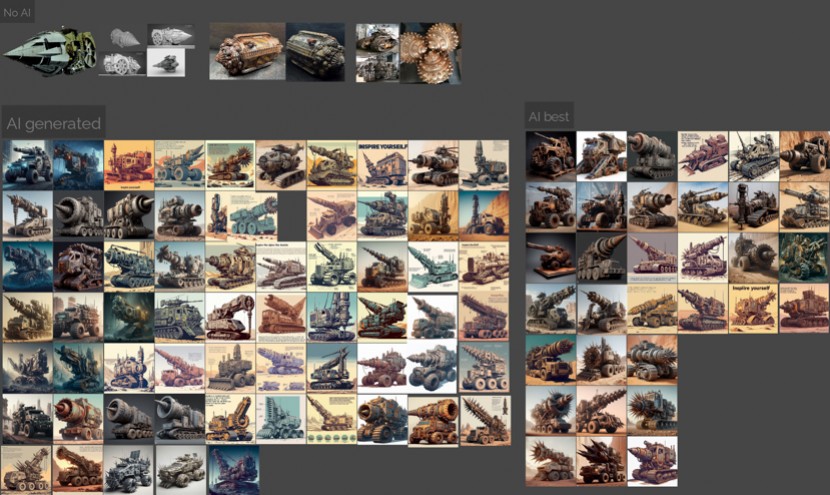
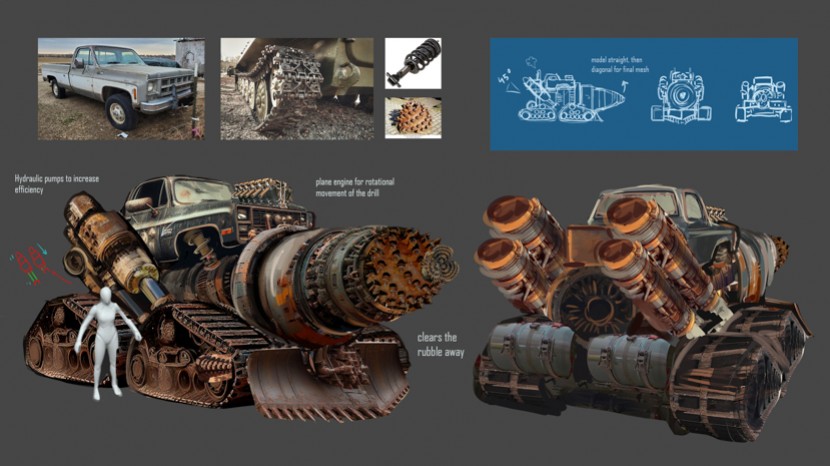
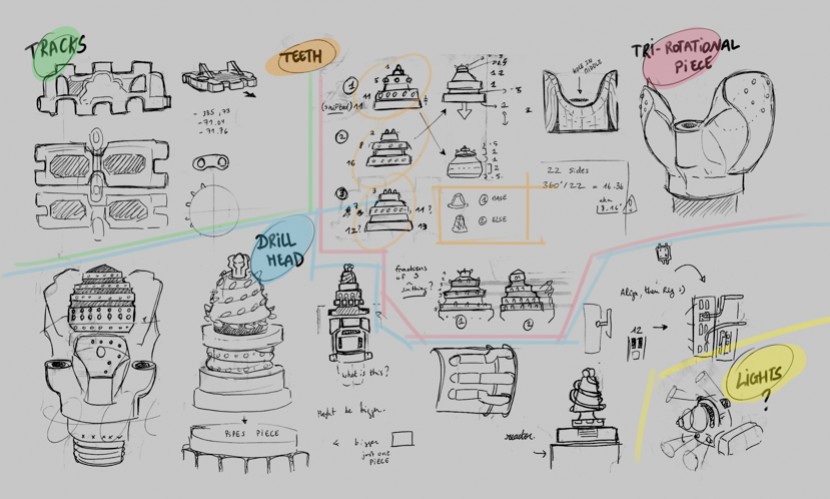
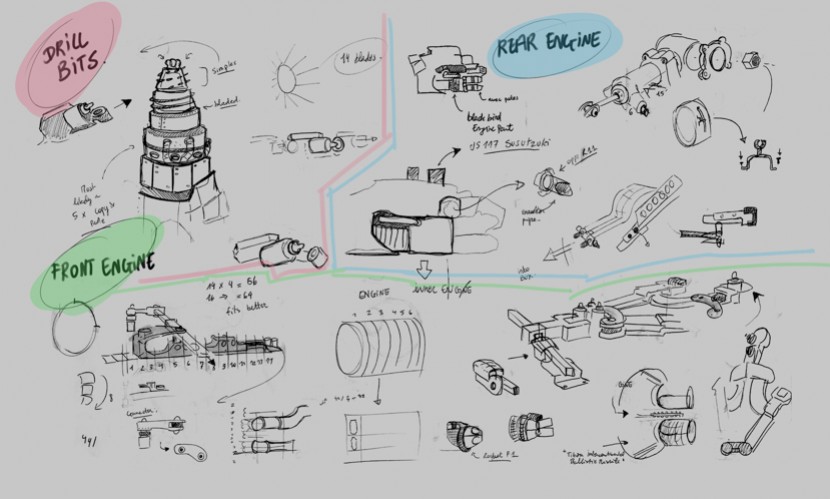
In the concept and preproduction stage, students brainstorm ideas using AI tools (such as ‘Bing AI’ and ‘Invoke AI’) and refine them iteratively next to their own drawings, photo bashes, etc., until they're ready for 3D translation.
Pipeline
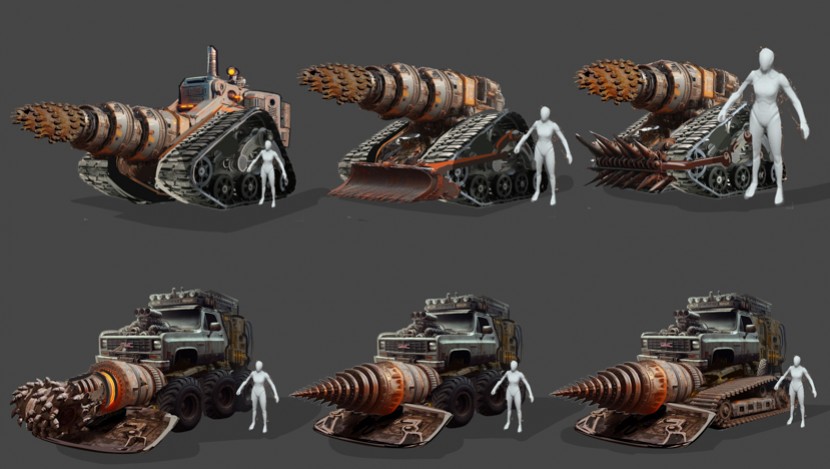
Once a concept is finalized, students begin to outline their production pipeline. They figure out how to tackle both high and low-poly of their models, what approach is best regarding unwrapping, adding texturing and more. Drawing this out in flowcharts, helps them to see any potential challenges and to find good solutions.
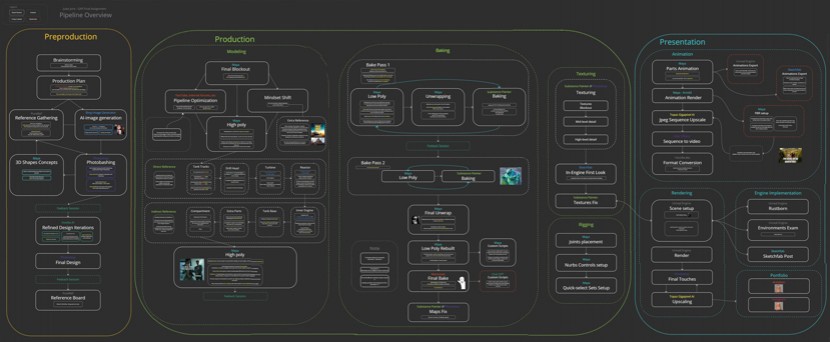
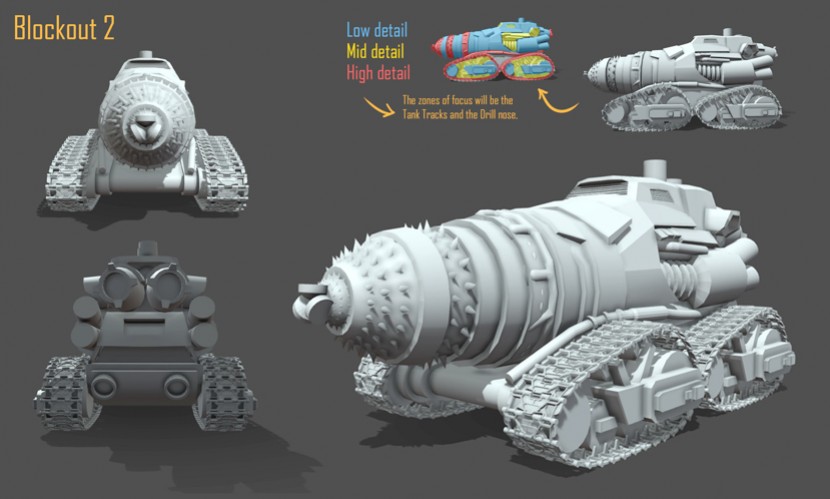
Model
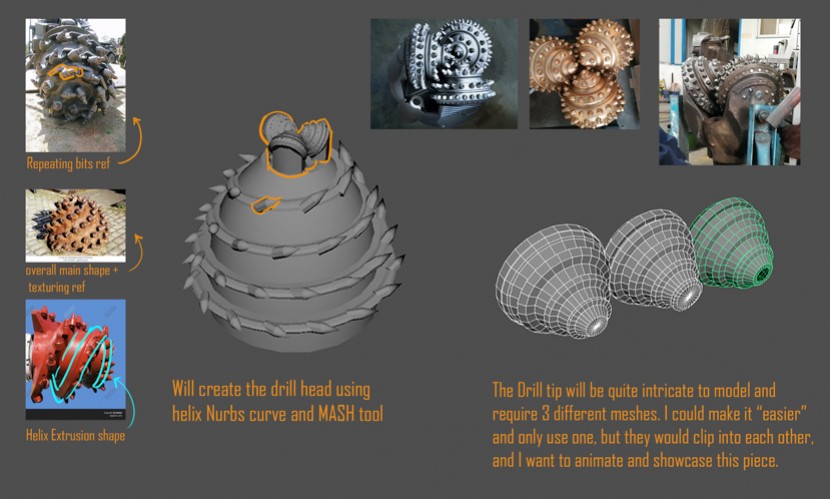
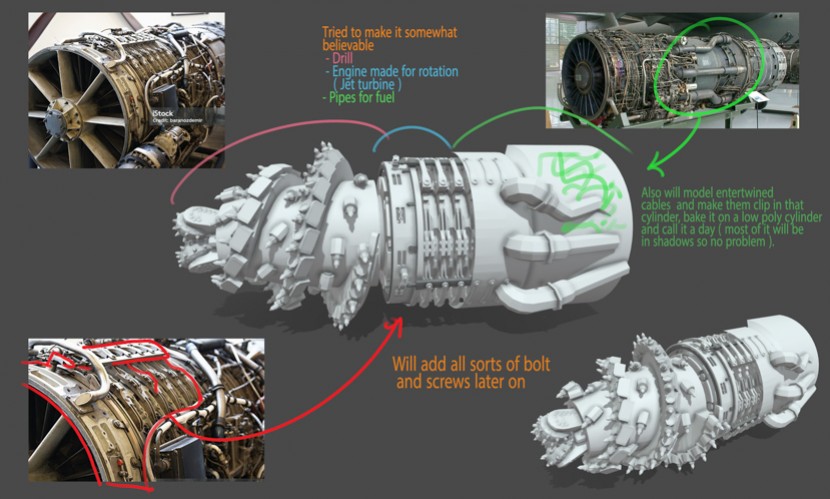
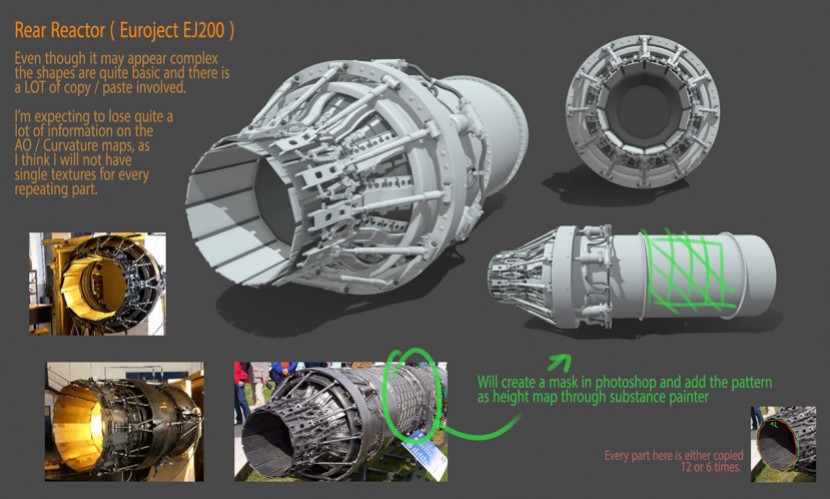
When the pipeline is set up, they start modeling the high poly version. This phase allows further refinement and adjustments to the design, as some parts don’t really work out in 3D based on the design and functionality. Various techniques can be used, including ZBrush for organic elements, Subd for more classic modeling and Blender to create specific parts. It’s just about choosing the most suitable tool to do the job. After this they proceed to unwrap the assets. During this process, they carefully consider how the unwrap aligns with the smoothing groups of the asset. Following this, they utilize overlapping UVs and ensure everything is efficiently packed.
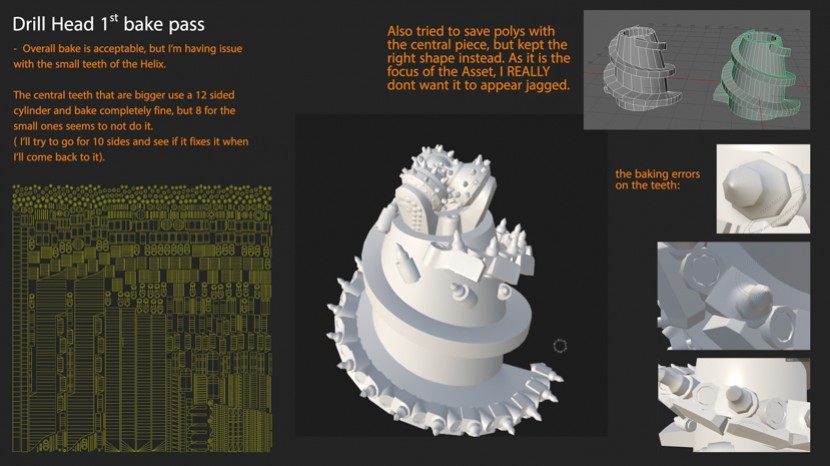
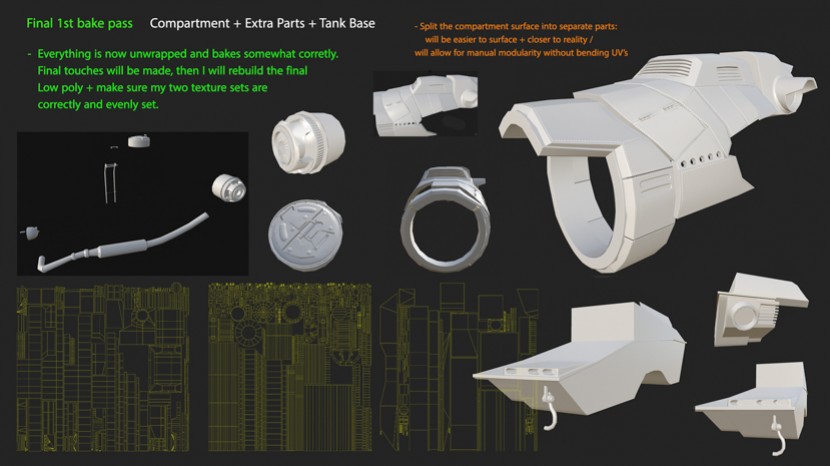
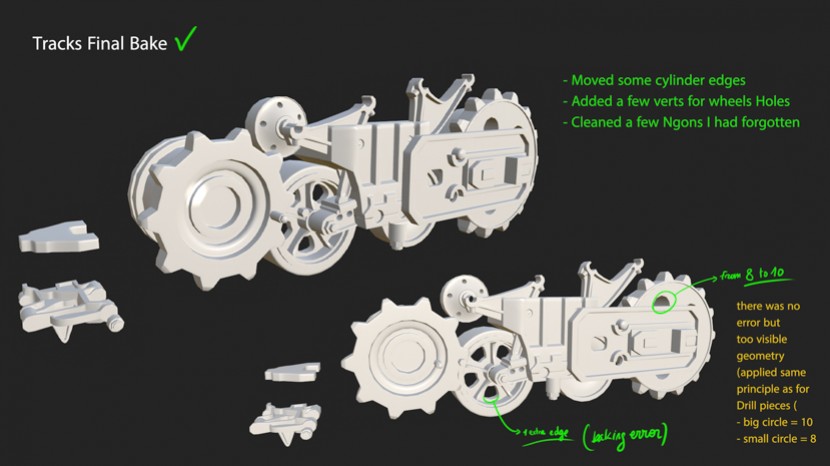
Bake
After completing the modeling and unwrapping of the model, they move on to baking their assets using software like Substance Painter or Marmoset. This step is an essential before they begin texturing. The need to make sure that there are no issues in the normal or AO maps, which means checking for any artifacts, gradients in the normal map, or issues with smooting groups.
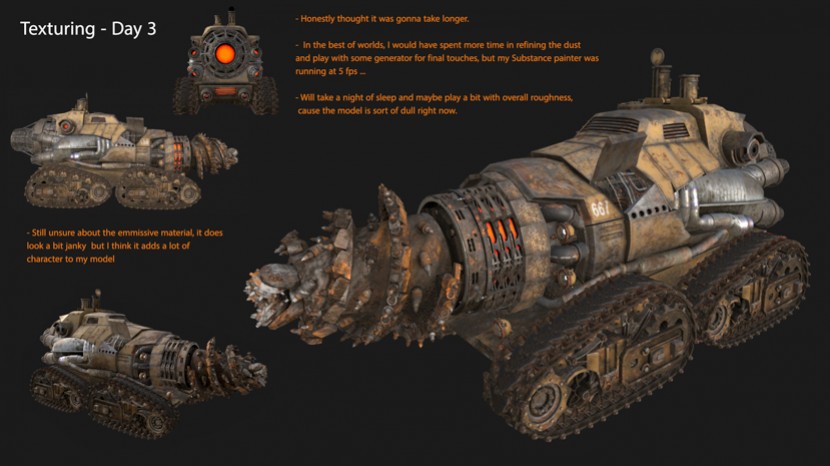
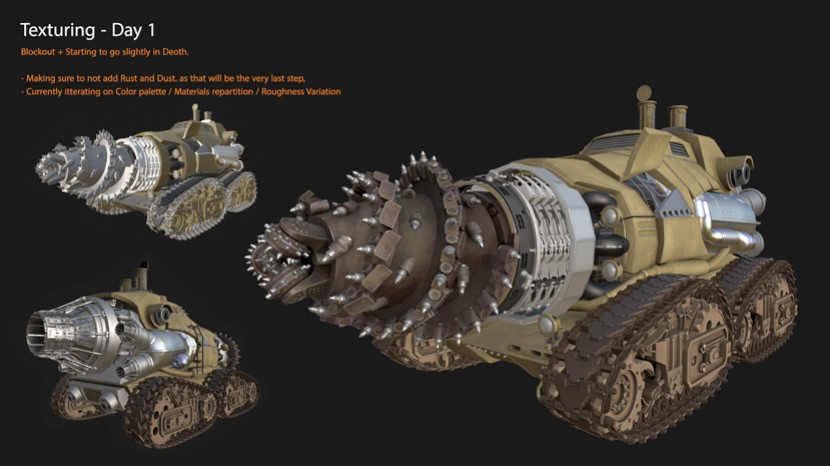
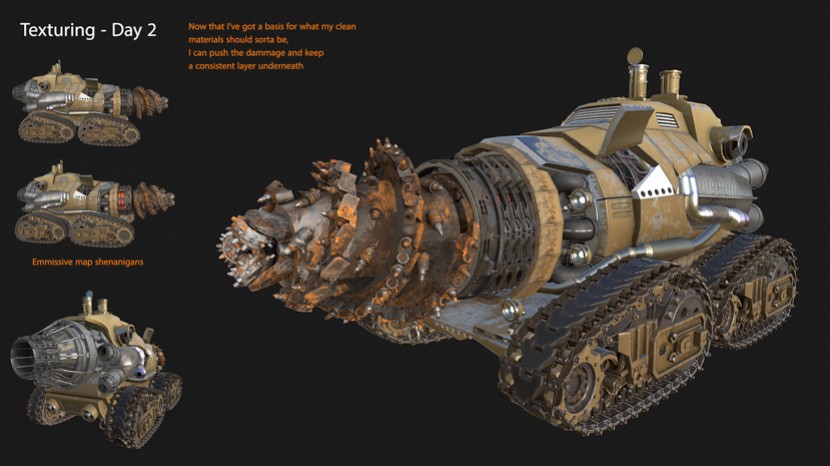
Texturing
The texturing is done in Substance Painter with the goal of achieving maximum realism. Next to realism, they need to pay attention to their individual texture maps. (Avoiding excessive grey values in the metalness map for example). For this step, it is important to look at and analyze real-life references.
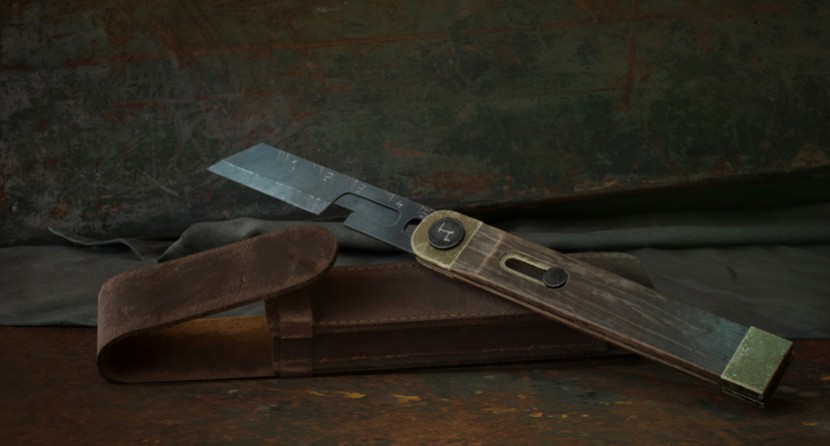
Presentation
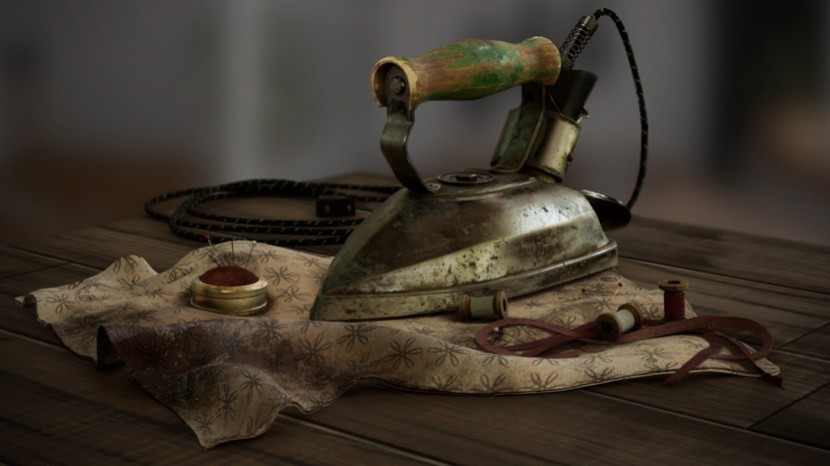
Final step is presentation. This is where the finishing touches are applied. Placing the asset in a suitable environment and dynamic lighting to create the final visual after a final pass of color grading and post effects (such as adding more contrast, playing with color balance, saturation, etc.)