RELATED TOPICS

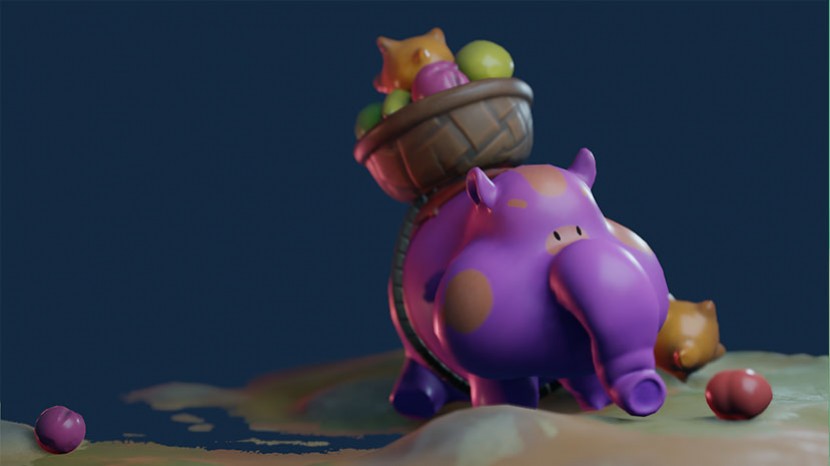
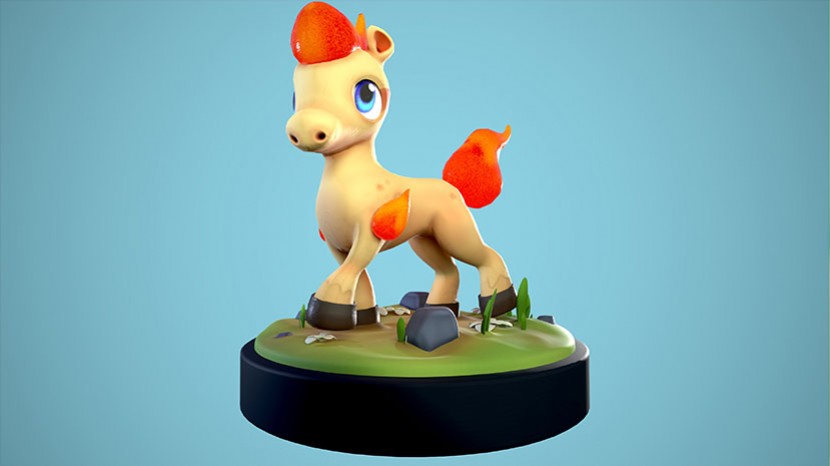
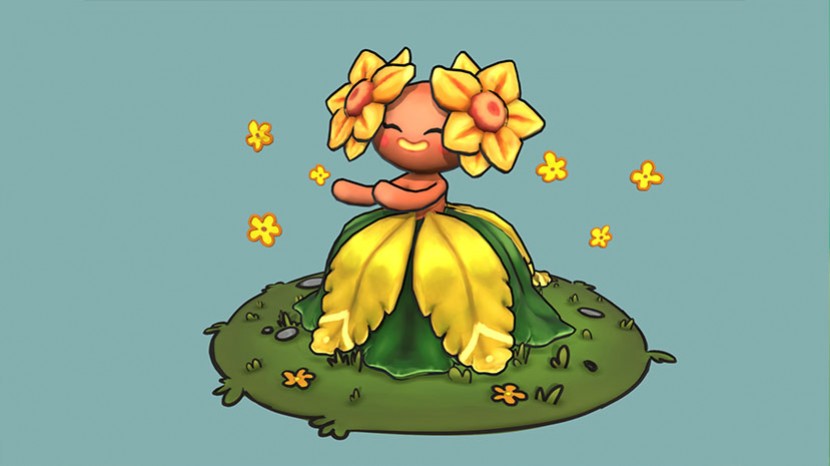
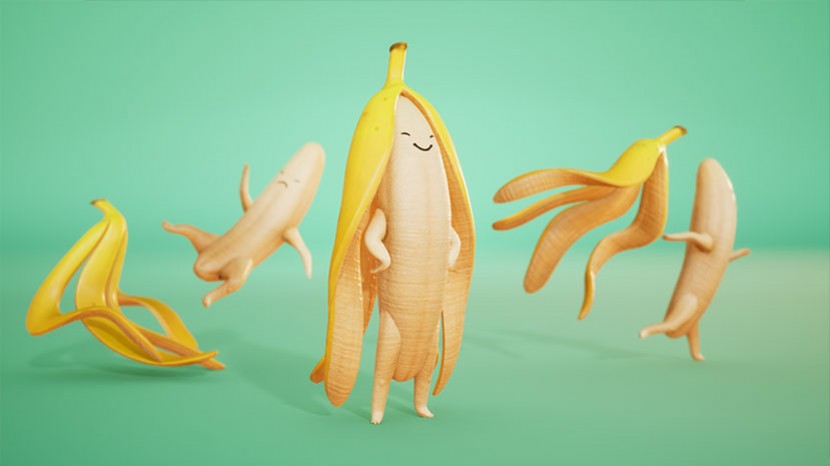
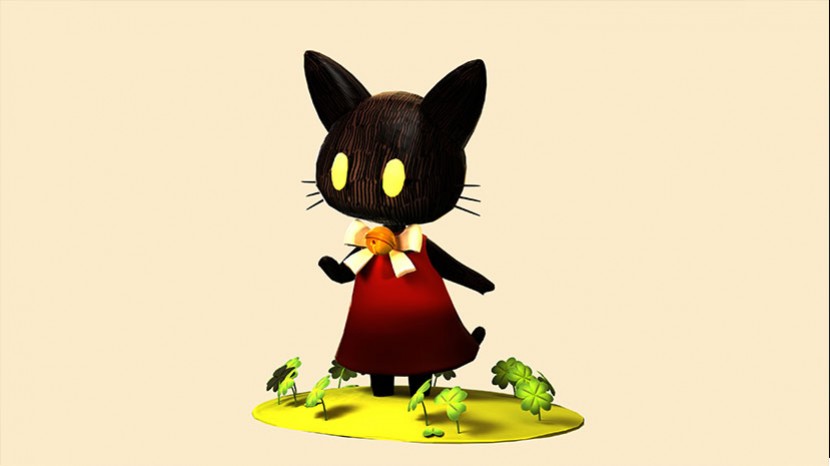
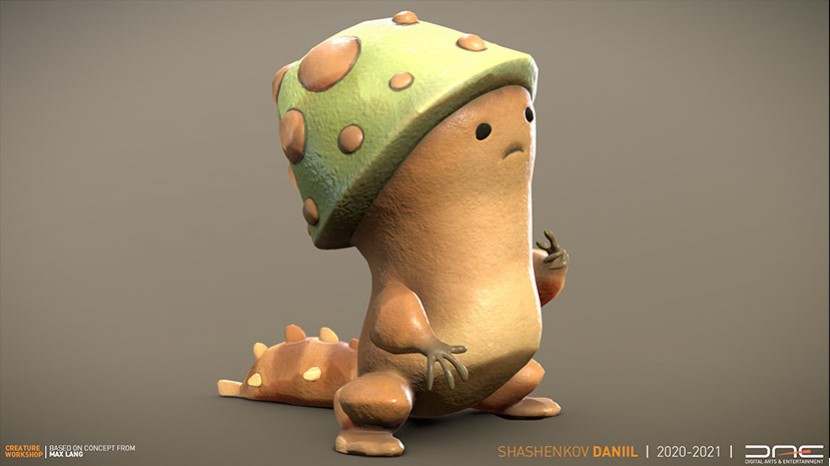
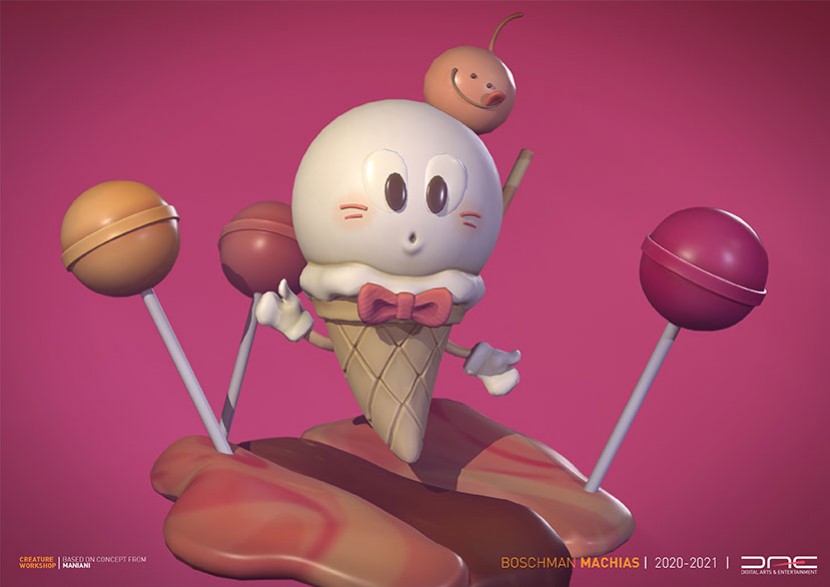
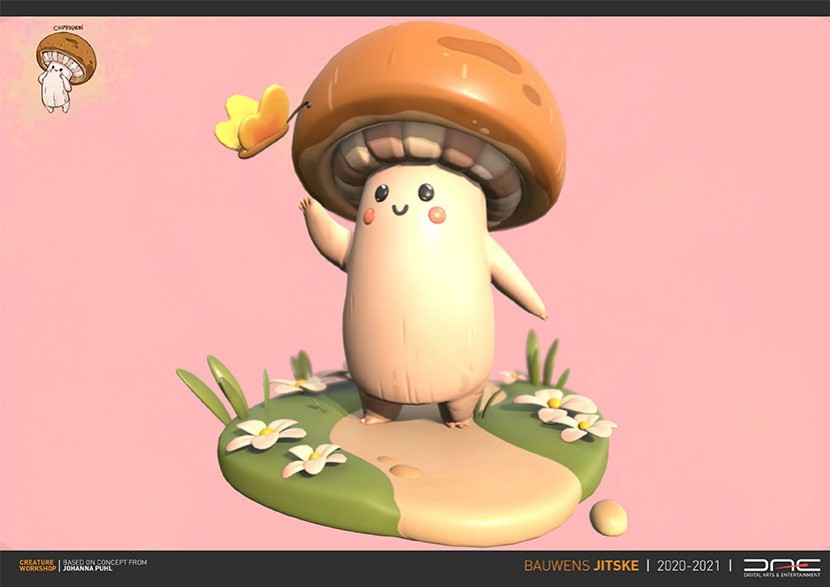
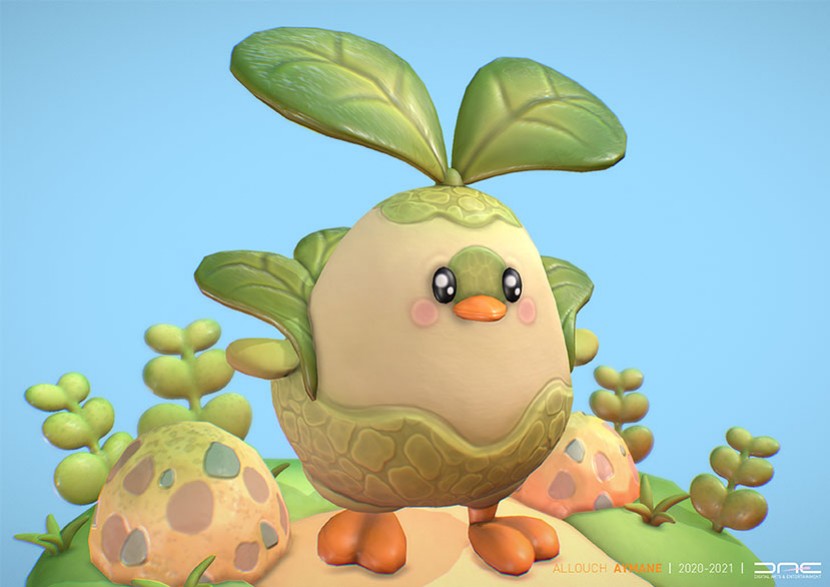
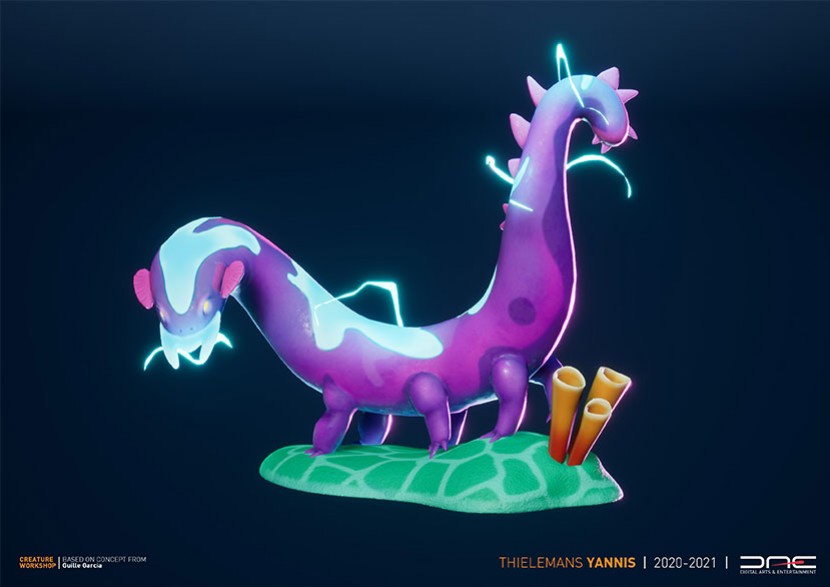
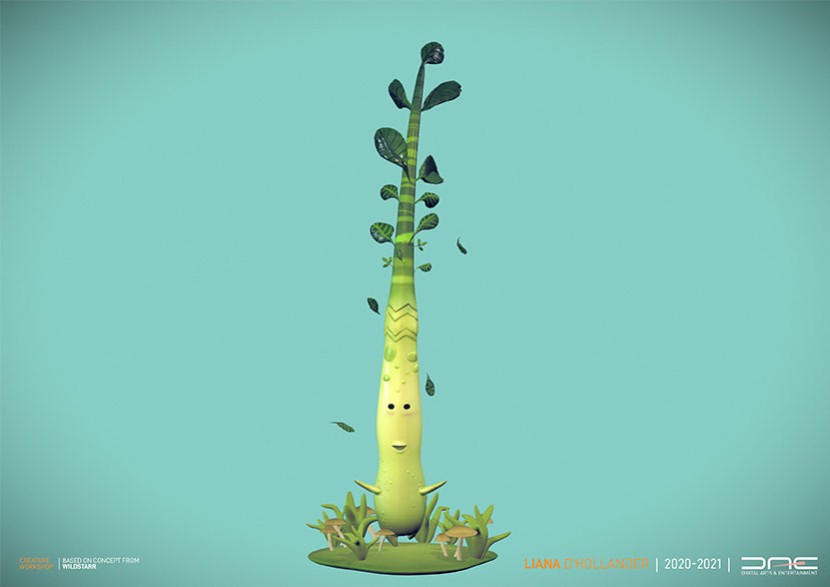
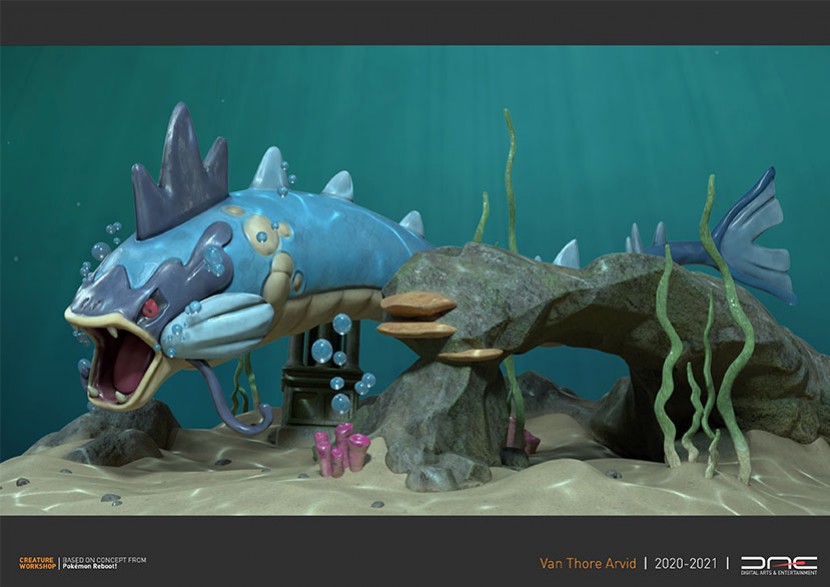
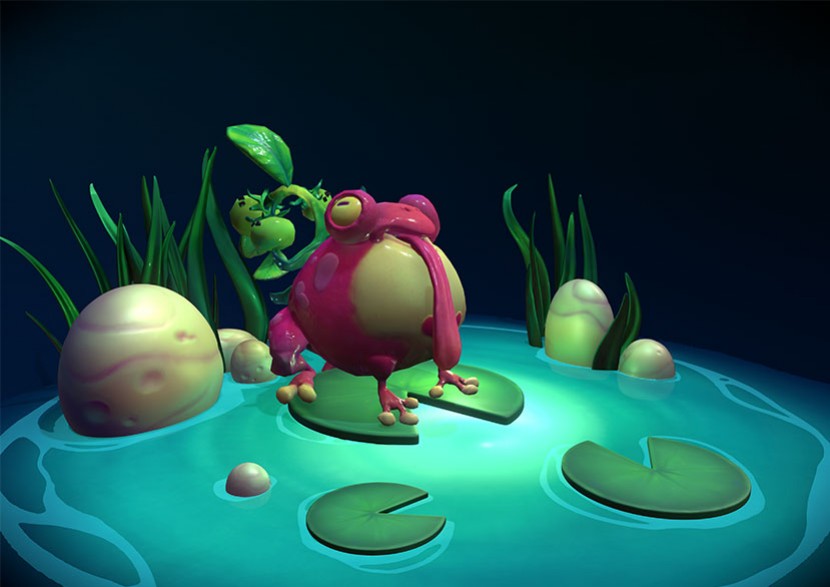
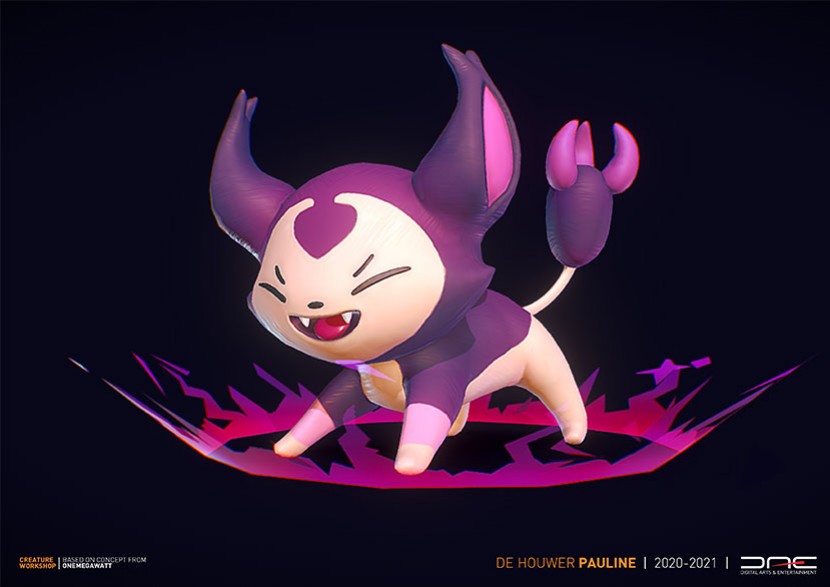
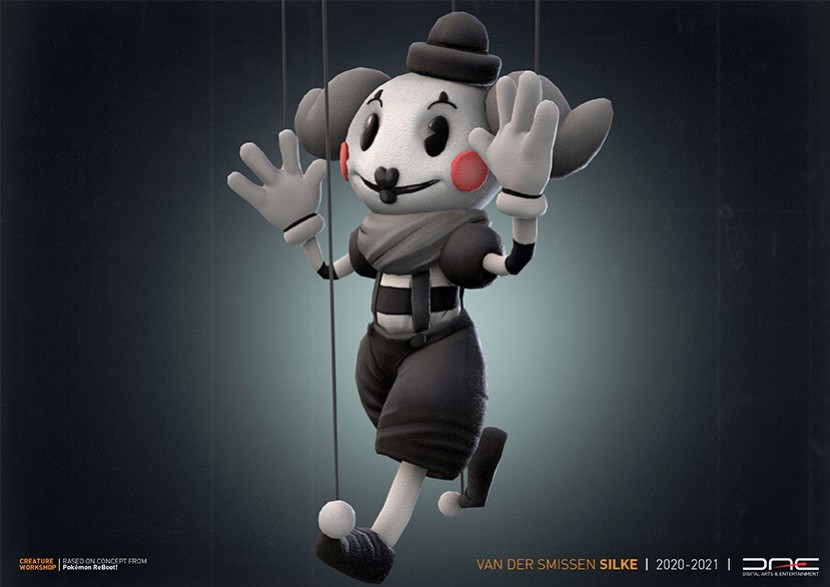
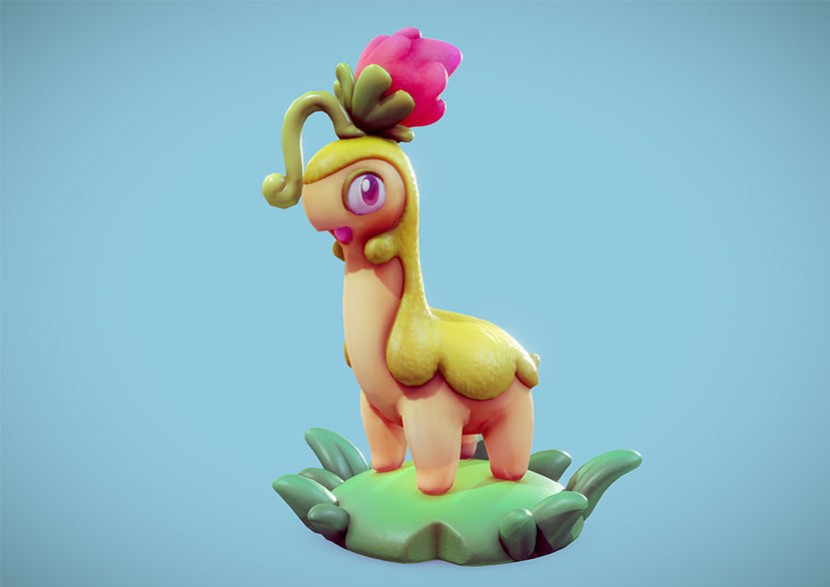
Our Stylized Creation students finished their Cute Creature Workshop Assignments and the results are amazing. In this task they turn a 2D concept into fully polished 3D creature.
While they seem dastardly simple, keeping all your surfaces clean and appealing requires a lot of skill, knowledge and constraint.
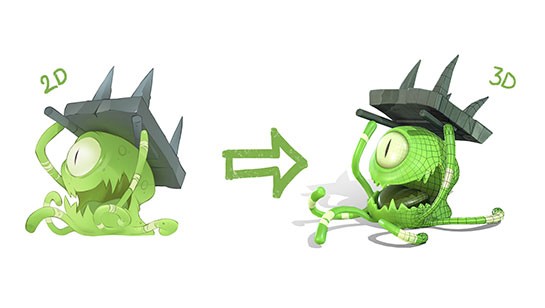
STEP 1
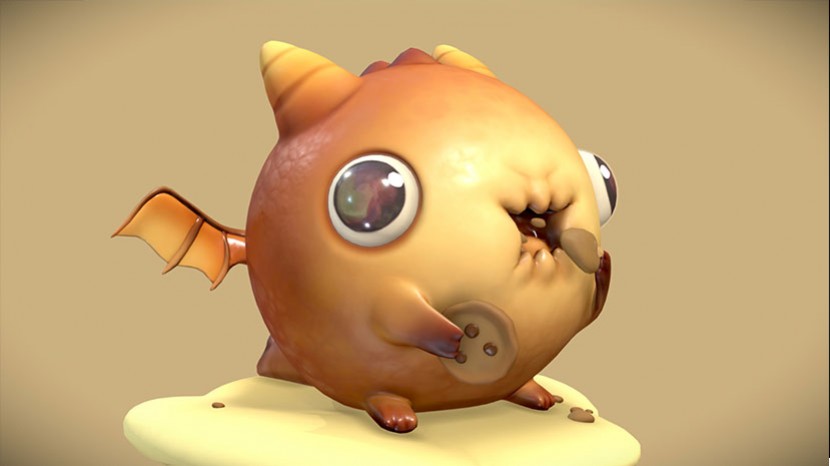
In the Example you can see how our student Lars Korden translated the concept from Oleg Yurkov into 3D.
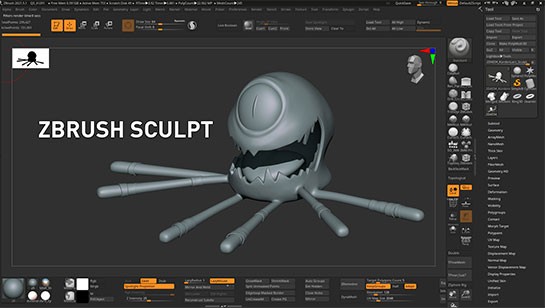
STEP 2
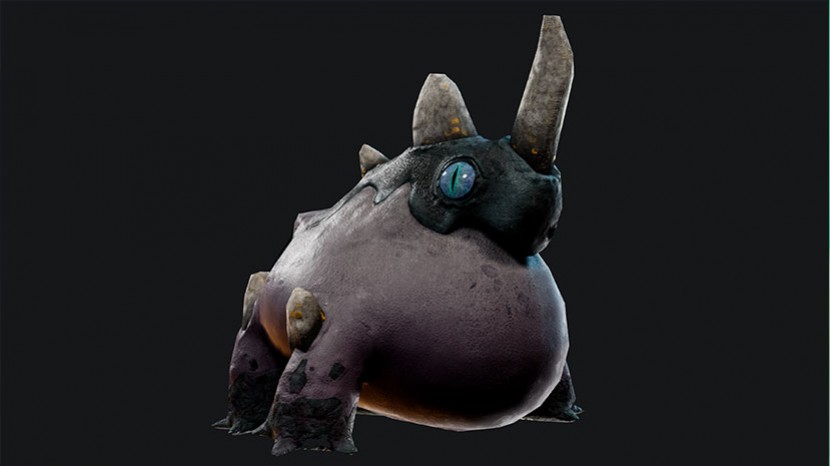
The first thing we do is create High Poly Zbrush Sculpt of it. This version contains all necessary details.
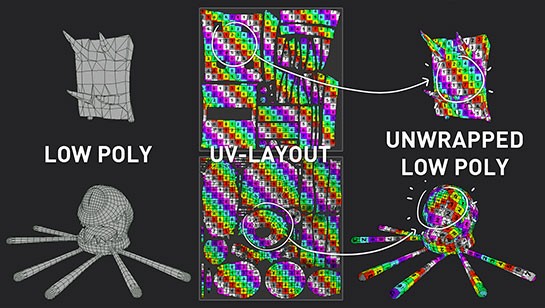
STEP 3
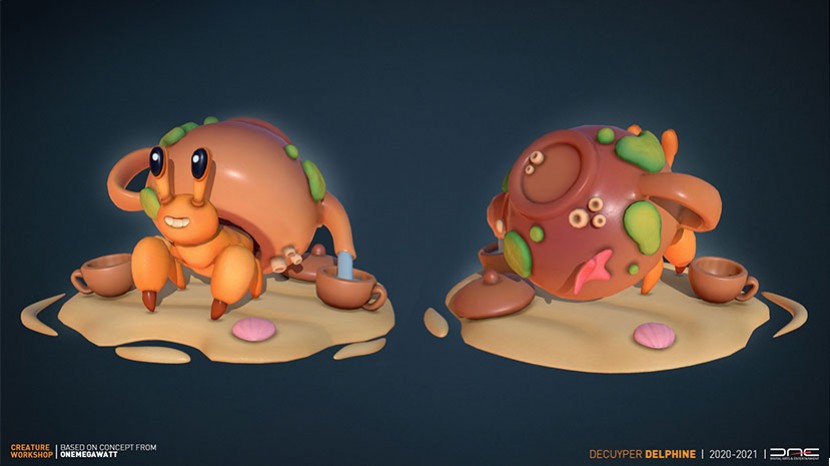
Next up we create a simplified version. This one is called the Low Poly version. This low poly version is easier to animate and easier for game engines to handle. When we have that finished we "unwrap" it, lay-out the UV's. We need this step to assign color and material information to correspond correctly. If you look at the example image, you can spot that some parts of the 3D mesh correspond with locations in that UV-LAYOUT.
STEP 4
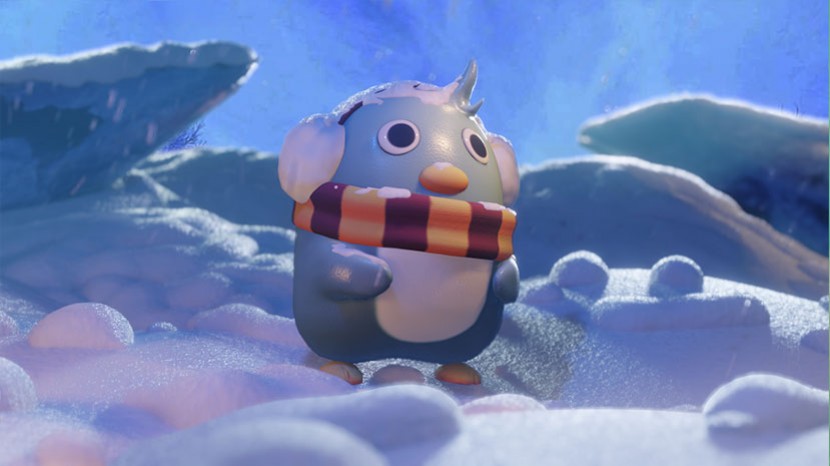
After that technical step we can create nice colors and materials for our 3D model. In the "details" shot you can spot details again that are now laying on top of our Low-poly model.
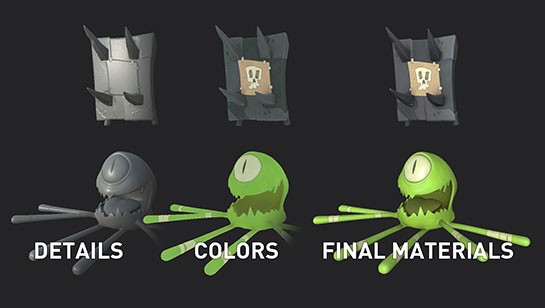
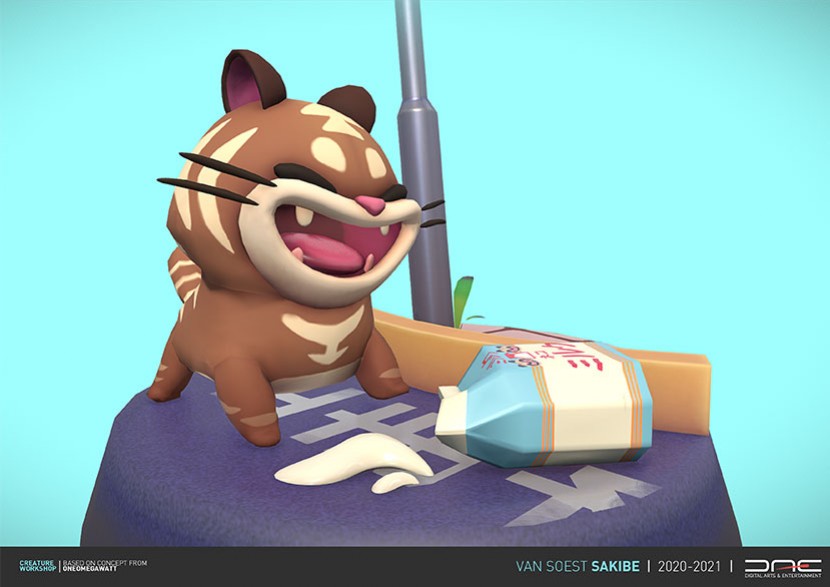
STEP 5
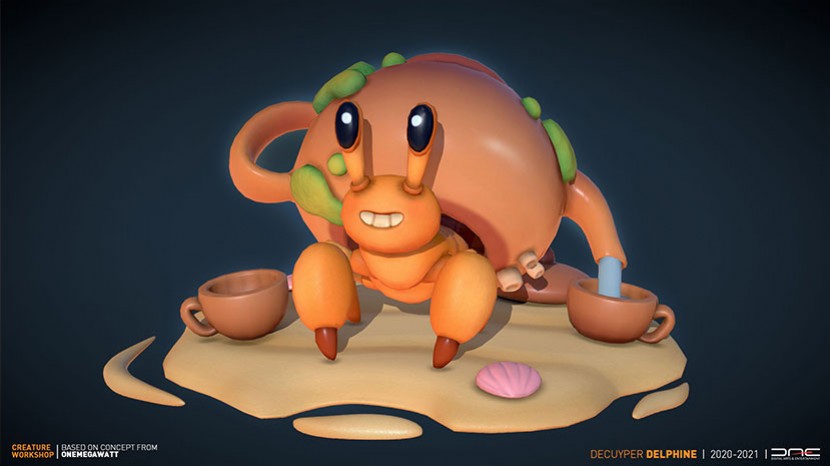
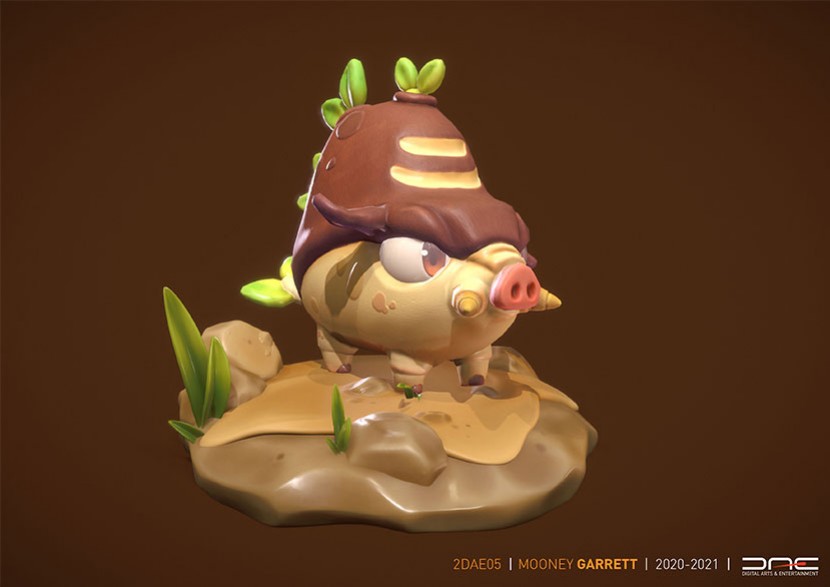
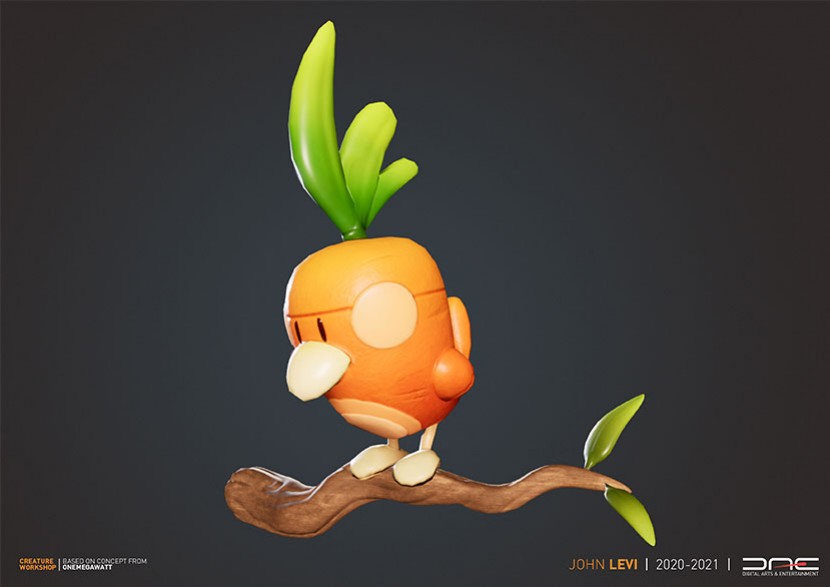
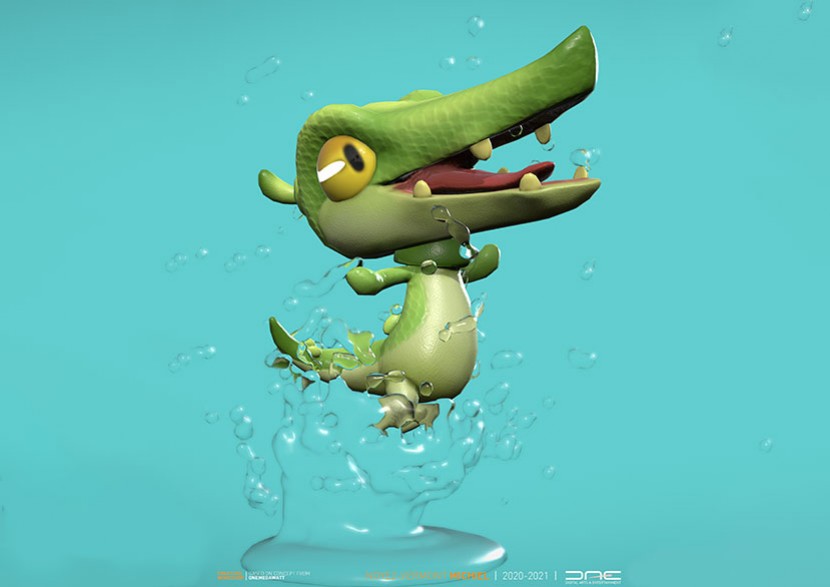
The final step is of course a nice pose and presentation.
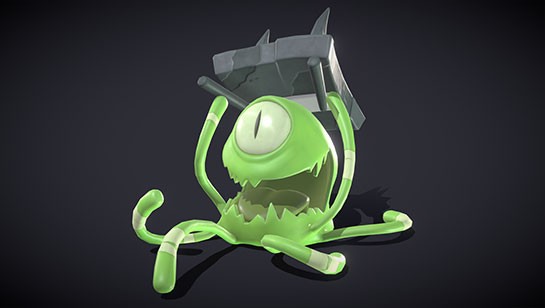
Check out the selection below.
*Recommendation: Print one of these cute companions, put them in your pocket and brighten your day. :)
For more cuteness overload, see here the full collection on Sketchfab!